
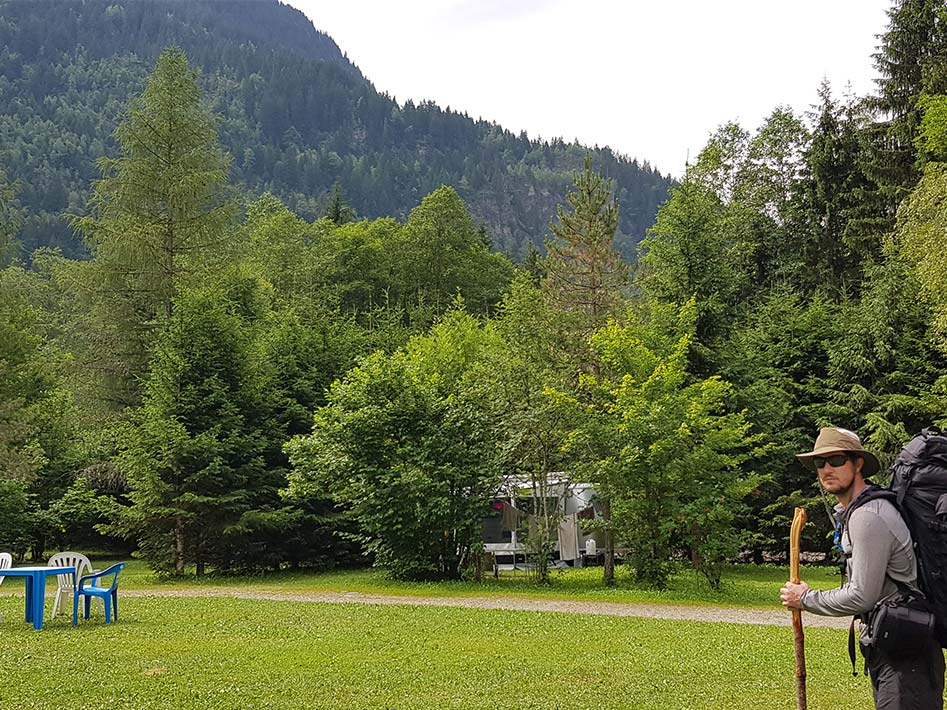
The Tour du Mont Blanc is a hikers dream. Soaring snow-capped peaks, immense glaciers, quaint hamlets and a great selection of food! 174km, 3 countries and 9000m+ of ascent and descent also make it quite a challenge. However for many hikers on the TMB the biggest challenge of the tour is getting a bed in the many refuges dotted along the route.
The Problem with Relying on TMB Refuges:
Refuges provide an essential mountain service. However, when relying on them for the TMB you can run into problems:
- You have to book a bed many months in advance. Some of the most iconic refuges are also notoriously hard to contact.
- Flexibility is rarely accommodated. If you need more time for what is a challenging hike your reservations can’t be changed.
- Refuges are expensive. Fair enough, it’s Europe, in peak season. But it is a hefty price for a dorm room.
- Refuges are hot and congested. 40 person dorms are good for camaraderie but bad for getting essential sleep for the next days hike. Bring ear plugs!
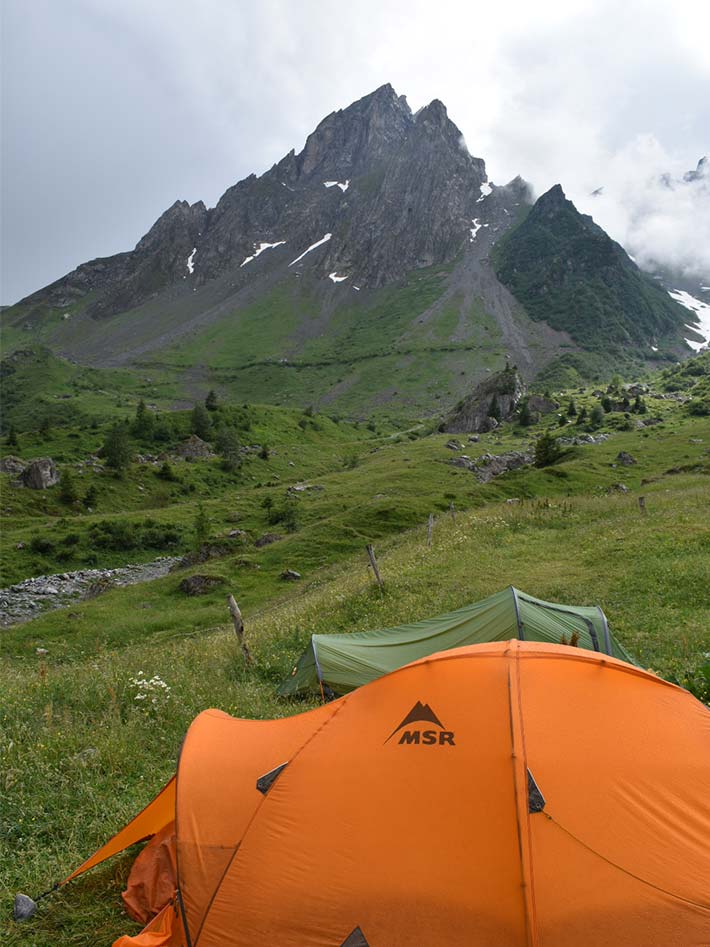
The Case for Camping the TMB
There are handsome rewards if you’re willing to camp the Tour du Mont Blanc:
- A peaceful nights sleep.
- Privacy when you need it.
- It costs a LOT less.
- Best of all, no need to book a thing! And, you can change your plans daily with no consequence.
The Case against Camping the TMB
As with any decision there are some downsides to consider when camping:
- Your pack will weigh a little more. No surprise there. But with food and water plentiful en route you can go with bare essentials.
- Official camping locations are limited. There are some gaps near larger towns where you need to get inventive. Which is hopefully why you’re reading this!
- Wild camping is (almost) prohibited. A definite grey area in terms of laws (fines) being enforced. We never needed to wild camp.
Tour du Mont Blanc (TMB) Camping Itinerary
After doing our own research, locating detailed camping itineraries online were limited. The few we found still had gaps or bypassed the TMB route for large sections. So we made our own adjustments to camp the entire way and stay true to the standard TMB route.
We managed to create a very feasible and flexible TMB camping itinerary. I’m confident this itinerary will work for most people who want to both camp the entire TMB and not miss a moment of the trail. If it’s freedom you seek this is the plan for you!
Day 0: Camping Les Arolles, Chamonix, France

Having breakfast next to, yep, a tractor, in the lovely Camping Les Arolles. As you do!
Most people use Chamonix as their base before tackling the TMB due to the frequency of airport transfers from Geneva. I recommend Ouibus or SwissTours (cheaper) for this transfer. They all arrive at Chamonix Sud bus station. Camping Les Arolles is only 5 minutes walk from the bus station and is a lovely family run campground. Plenty of space, clean facilities, multiple charging points and WiFi. Camping fees were €6,80 per adult, €3,70 per tent. The cheapest bed in Chamonix!
It is 10 minutes walk from Les Arolles to the main street of Chamonix. Anything you need for the outdoors can be found in Chamonix so stock up on most of your supplies here that you couldn’t bring from home (e.g. gas, lighters etc).
Top tips:
Decathlon in central Chamonix is a good one-stop-shop for supplies at reasonable prices. Also Pick up a free bus ticket at check-in to Camping Les Arolles to travel up and down the Chamonix valley during your stay.
Day 1: Les Houches to Les Contamines
Finding a flat pitch at Camping Le Pontent was easy!
- Distance: 19.6km (~6 hours)
- Ascent: 1,003m
- Descent: 846m
- Highest point: 1,653 (Col de Voza)
- Campground: Camping le Pontent (€5,50 per person; €4,40 per tent)
The TMB officially starts from Les Houches (pronounced. ‘Le hoosh’). Les Houches is about 10 minutes by bus from Chamonix. This bus also leaves from Chamonix Sud bus station.
The bus stops right at the official starting banner for the TMB and there is also a great patisserie here also call Éric Jacquier. A good option for grabbing a baguette for lunch later in the day.
The hike itself is a tough intro to the TMB and one of the longest too. For those starting late or undertrained the Bellevue chairlift can take you up the first ascent if you wish, otherwise the trail starts about 50m past the chairlift, going straight up the hill. Bienvenue to the TMB!
Camping Le Pontent is about 25-30mins past the main town of Les Contamines. Follow the TMB signs along the river and you can’t miss the campground. Plenty of space to pitch a tent and tables and chairs are available to position near your camp. Toilet and shower facilities are basic (cold showers, pit toilets). Food options are limited so either pick something up in Les Contamines or ask if you can be included in the 3 course dinner provided to the guests of the chalets.
Top tips:
The Chalet showers have hot water and are ‘accessible’ for in-the know campers 🙂
Day 2: Les Contamines to Refuge la Balme
Legal wild camping near Refuge la Balme.
- Distance: 8.4km (~2.5 hours)
- Ascent: 557m
- Descent: 18m
- Highest point: 1,706m
- Campground: Designated wild/free camping near Refuge la Balme
This stage is a short but steep hike to Refuge la Balme. After the previous day this will be a welcome short day, although still tough with the climb. No food or towns are en route although food is served at the Refuge where you finish for the day.
This campground is just to the right of the Refuge and is a free area designated for camping (bivouac) so it comes at no cost! There is a toilet block and fresh running drinking water only 100m away. It has spectacular views both up and down the valley. If you are feeling fit, you can always continue to Les Chapieux, the next viable camping location.
Top tip:
The camping area is small and typically fills by nightfall in summer so aim to get here relatively early before 3pm for the best (aka. flattest spots). This is easy to do given the short 2 .5 hour hike on this section.
Day 3: Refuge la Balme to Les Chapieux
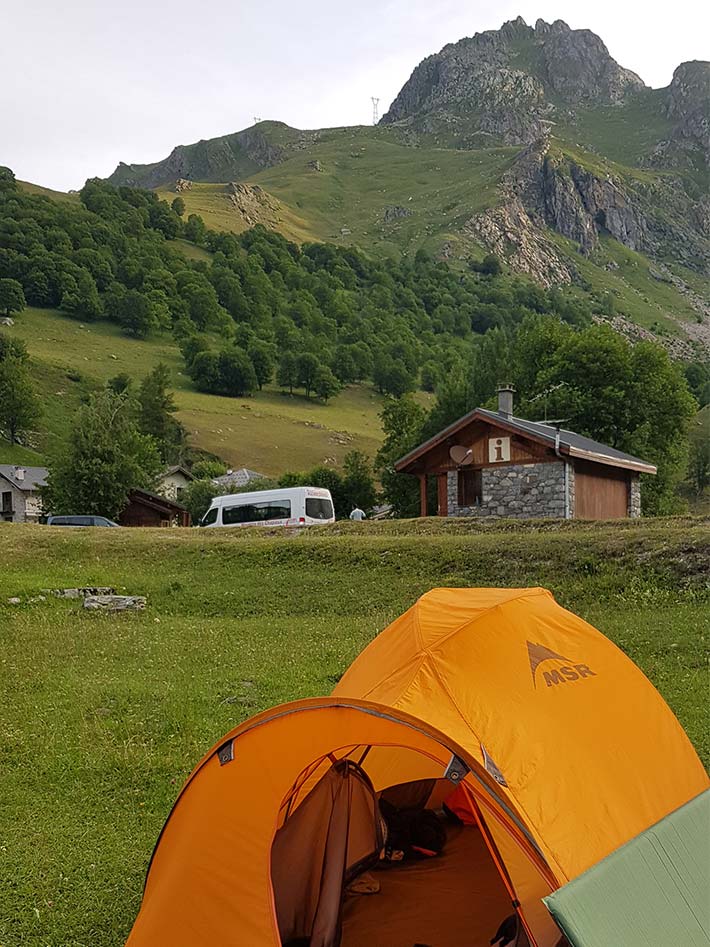
Pitching up near the Info centre (aka toilet block) at Les Chapieux
- Distance: 10.5km (~5 hours)
- Ascent: 790m
- Descent: 947m
- Highest point: 2,479
- Campground: Wild/Free camping Les Chapieux
This stage was one of our best and most scenic days, but also one of the more demanding. It’s a sharp climb to the top of the twin Cols of Col du Bonhomme & Col de la Croix. It also one of the more remote. You’ll need to supply your food for this section as food is limited to what may be available at the Refuge at Col de la Croix du Bonhomme. Otherwise have a late lunch when you get to Les Chapieux.
The campground ‘Aire de naturelle’ is a designated free camping site. The area is massive! There are a mix of RV’s and tents scattered about. The tourist office next to the campground has a toilet block which is open 24 hours. Data reception is poor in Les Chapieux so you may need to get on to WiFi at the cafe.
If you’re looking for a shower, the fast flowing stream running through the campground provides a refreshing cleanse! There is not much shade about but you can sit away from your tent under some trees.
Top tip:
The lady in the tourist office happily allows you to charge your devices while her office is open.
Day 4: Les Chapieux to Val Veny (Cormayeur)

Hobo camping wins the award for ‘Best backdrop for a TMB campsite’. The staff are awesome too.
- Distance: 17-23km (~8-10 hours)
- Ascent: 1051m
- Descent: 626m
- Highest point: 2,516 (Col de la Seigne)
- Campground: Hobo Camping, Val Veny (€8 per person; €6 per tent)
Starting this day you have two options. The purists option which means you begin hiking up a road towards Valley de Glaciers and onwards along the TMB trail into Italy. The second option takes a bus from the tourist office in Les Chapieux to Valley de Glaciers (3 Euros). This knocks off about 6km of distance and 300m of vertical ascent. The reason to take the bus is to make this day an easily achievable one given that there is no official camping options until you reach Val Veny.
True wild camping is forbidden in Italy (even though people do it). Wild camping near Refugio Elisabetta is your best bet if you wanted to break up this leg of the journey. Still, if you head off at a reasonable time you do have almost 14-15 hours of daylight in summer to complete this leg. Refugio Elisabetta can provide sit-down lunch midway or simply pick up a baguette before you leave Les Chapieux.
To reach the Val Veny campgrounds, continue straight ahead at Refuge Combal (leaving the TMB route). Follow the road alongside the river for a few kms until you see signs for Hobo Camping. There are three campgrounds to choose from although Hobo camping provided the best facilities for us and the bus to Cormayeur is right out the front.
Top tip:
The signs to the campsites lead you off the road and on a very roundabout route up and down some twisting trails. I’d recommend following the road for the most direct route to the campgrounds!
Day 5: Val Veny Day Hike (aka. Rest day)

Never know what you might find on a rest day!
- Distance: 15km (~5 hours)
- Ascent: 751m
- Descent:751m
- Highest point: 2,031
- Campground: Hobo Camping, Val Veny
Many people take a rest day in Courmayeur and splurge on a hotel simply because there are no campgrounds in the town of Cormayeur. However, camping in Val Veny is 10 minutes to Courmayeur by local bus (2 Euros). So if you want to stock up on supplies or a flash meal you can get there easy enough and enjoy the scenery a lot more. You camp at the foot the mighty Brevent Glacier with soaring mountain peaks all around. There are also a few decent restaurants to choose from in Val Veny and it is much more relaxing than the streets of Courmayeur.
To ensure you don’t miss a metre of the TMB you can do a day hike on the section missed the previous day, minus your pack!. Take a path behind Hobo camping to Refuge Maison de Ville which has arguably some of the best views of Mont Blanc (on a clear day). You could easily do a longer loop and return the way you did the day before. The only section of TMB you will officially miss in this instance is the very steep and uninteresting descent into Courmayeur.
Top tip:
Hobo camping do a laundry service so by now you might want to get a load in before you start your day hike.
Day 6: Val Veny to Plampincieux (Val Ferret)
Bringing breakfast supplies made a good start to each hiking day. Camping Grand Jorasses.
- Distance: 10-16km (depending on route chosen) (~5-6 hours)
- Ascent: 834m
- Descent: 469m
- Highest point: 2,045m
- Campground: Camping Grand Jorasses, Plampincieux (€8 per person; €6 per tent)
What did I say about camping and all the options you’ll have?! Today you have another ‘choose your own adventure’. Take the bus from Val Veny (Hobo Camping or similar) to Courmayeur. The bus stops right on the TMB trail which starts from the main pedestrian strip. You will begin the steep hike up out of Courmayeur up the road and then on the trail to Refugio Bertone. From Refugio Bertone you can take the standard TMB route to Refugio Bonnatti or take the variant via the tougher traverse. Either way, once you reach Refugio Bonnatti, continue on the TMB route until you reach the valley floor at Chalet Val Ferret.
From the valley floor, Camping Tronchey or Camping Grand Jorasses campgrounds are in Plampincieux. This is 6km back down the valley via the road and in the opposite direction and away from the TMB route. However, the local bus runs every hour from Chalet Val Ferret (Arp Nouvaz bus stop) to Plampincieux (2 Euros). The next morning, simply take the bus back to rejoin the TMB where you left it at Chalet Val Ferret!
This ends possibly the toughest logistical part of camping the TMB route.
Top tip:
There is a short cut to Plampincieux from the standard TMB route if you’re feeling tired, although you’ll miss seeing the views from Refugio Bonatti.
Day 7: Plampincieux to La Fouly, Switzerland

The view from La Fouly campground is hard to beat!
- Distance: 16.1km (~6 hours)
- Ascent: 798m
- Descent: 967m
- Highest point: 2,537 (CHF 8 per person; CHF 16 per tent)
After the return bus leg to Chalet Val Ferret the trail starts almost immediately heading up past Refugio Elena and onwards (on some sketchy snow covered cliff sections) to Col Ferret into Switzerland. A long gradual descent takes you down eventually into La Fouly.
Camping La Fouly is quite well run and has decent facilities and is pretty spacious. Regardless, it’s the only option for camping in La Fouly!
Top tip:
An ATM dispenses Swiss Francs near the tourist office. Although most places, including the campground, accept Euros. Although the conversion might be better if you use Francs.
Day 8: La Fouly to Champex

The hard slog up to Champex Lac brings you to this crystal clear alpine lake.
- Distance: 15.5km (~5 hours)
- Ascent: 484m
- Descent: 607m
- Highest point: 1,600m
- Campground: Camping Les Rocailles (CHF 8 per person; CHF 16 per tent)
This is a deceptively hard stage. After a long undulating descent through some magnificent Swiss villages, a sharp, steep and relentless, never-ending climb to Champex at the end of the day really takes its toll. The then trail winds around town before arriving at Champex Lake.
Camping Les Rocailles is on the road leading out of town (again on the TMB route). It is small but has adequate facilities. Some report a grumpy owner and poor facilities but we found it to be more than suitable. The alternative is camping outside Auberge Bon Abri another 1km up the road. But this is now 2km from Champex town so you might want to get food supplies from Champex on the way through.
Top tip:
Take a walk along Champex Lake at dusk. A great way to stretch out aching legs.
Day 9: Champex to La Peuty
Empty now, but La Peuty campsite (Switzerland’s cheapest) eventually fills up.
- Distance: 16.9km (~5 hours)
- Ascent: 790m
- Descent: 941m
- Highest point: 2,049m (CHF 6 per person)
Another long solid day with a long steep climb to Bovine before descending to Col du Forclaz. Another 30 minutes descent takes you to La Peuty. There is a reasonable sized campground here (Camping La Peuty) which looks like a public park. It has a basic concrete toilet block, sheltered picnic tables and lukewarm showers inside two port-a-loo style cubicles. A lady walks around taking payment (6 CHF per person). There is a wood fired BBQ to use here too if necessary
Across the road is Auberge La Peuty. They do a dinner service for their guests (inside a Mongolian Yert!) and open it to campers if they have space available. They also have a bar for casual drinks and snacks. Trient is also 1km down the road and has two hotels which also do food.
Top tip:
Grab a sandwich for the next day at L’ Auberge du Mont Blanc in Trient. Pick it up the day before. An amazing ham, cheese and mustard filling with the softest bread you’ll ever have.
Day 10: La Peuty to Tre Le Champ

Camping beside Auberge La Boerne is probably the most serene campsite you’ll ever have.
- Distance: 13.3km (~6 hours)
- Ascent: 1093m
- Descent: 1002m
- Highest point: 2,201m
- Camping: Auberge la Boerne (€8 per person)
A big day of climbing and descending. In fact, we broke up this day to experience the semi-refurbished Refuge Col de Balme, a pretty unique experience (more on that later). But still it’s a very doable day to get to Tre Le Champ. Auberge la Boerne has a small and absolutely delightful camping space with soft and flat grass situated beside by a rushing stream. You can choose to just camp or also be included in their meal service.
Top tip:
Auberge La Boerne do an awesome picnic lunch for the longish next day (it included a sandwich, apple, boiled egg, tomato and a Mars bar!).
Day 11: Tre Le Champ to Les Houches (Chamonix)

The infamous TMB ladders. It is OK, even when hauling extra camping gear. But an alternate route exists.
- Distance: 13.3km (to Plan Praz cable car) (~6 hours)
- Ascent: 791m (to Plan Praz cable car)
- Descent: 1002m (to Plan Praz cable car)
- Highest point: 2,201m
- Camping: Camping Les Arolles (Chamonix)
This is a long final section of the TMB if you continue to Les Houches. It can though be broken up in a number of ways. Firstly, camp at either Refuge la Flegere (with guardian permission). Secondly, legally wild camp near Lac Blanc in good weather. Or, finally, exit the TMB at Plan Praz and take the cable car down into Chamonix to setup camp once agains at Les Arolles.
With either option you can complete the TMB at Les Houches the next day if you wanted. If you went down to Chamonix, simply take the cable car back up the next day and hike the remaining section to Les Houches without your heavy pack! Then get the local bus back to Chamonix from Les Houches to the Les Arolles campground.
Top tip:
The infamous ladder section onwards from Tre Le Champ may be harder/riskier with a heavy pack. We found it OK though. There is a non-ladder route though if you’re nervous. The Plan Praz cable car closes at 6pm in summer, but double-check so you’re not caught stranded.
Tour du Mont Blanc Celebratory Splurge!
If you did want to celebrate finishing the TMB with a little splurge at the end you might want to consider a stay at La Folie Douce. It is a bit like walking on to the set of the Great Gatsby! It is an oasis within Chamonix, there is a pool, sauna, steam room, volleyball court, massive outdoor deck and garden with Mont Blanc views, rope maze, food trucks, a buffet breakfast and 4 bars and three restaurants!
You’ll never leave the grounds of the hotel! They have dormitories which is one of the cheapest beds in Chamonix (apart from camping) but with access to all the great hotel facilities.

A celebratory splurge! La Folie Douce won’t disappoint as a post TMB reward!
Further TMB Reading
To plan for our trip we relied upon Andrew McCluggage’s very well constructed Tour du Mont Blanc guidebook. It provides specific details on the route and what to expect including maps, elevation profiles, pictures, safety info including refuge and camping contacts and locations.
Enjoy your TMB experience. No matter what you choose, refuges or camping you’ll have an amazing time. Choose your own adventure!

Happy Trails!


About The Author
Warren
Ever since venturing out the back gate into the bush as a kid, I've had a curiosity to escape and explore as often as I could. It's fair to say that my curiosity has continued to grow instead of fade as the years go on. It eventually came time to turn a few scribbled notes into some legible stories and travel tips for anyone with a similar curiosity as me.